Getting Started
3 minutes to set up. After that, Alloomi filters the noise for you.
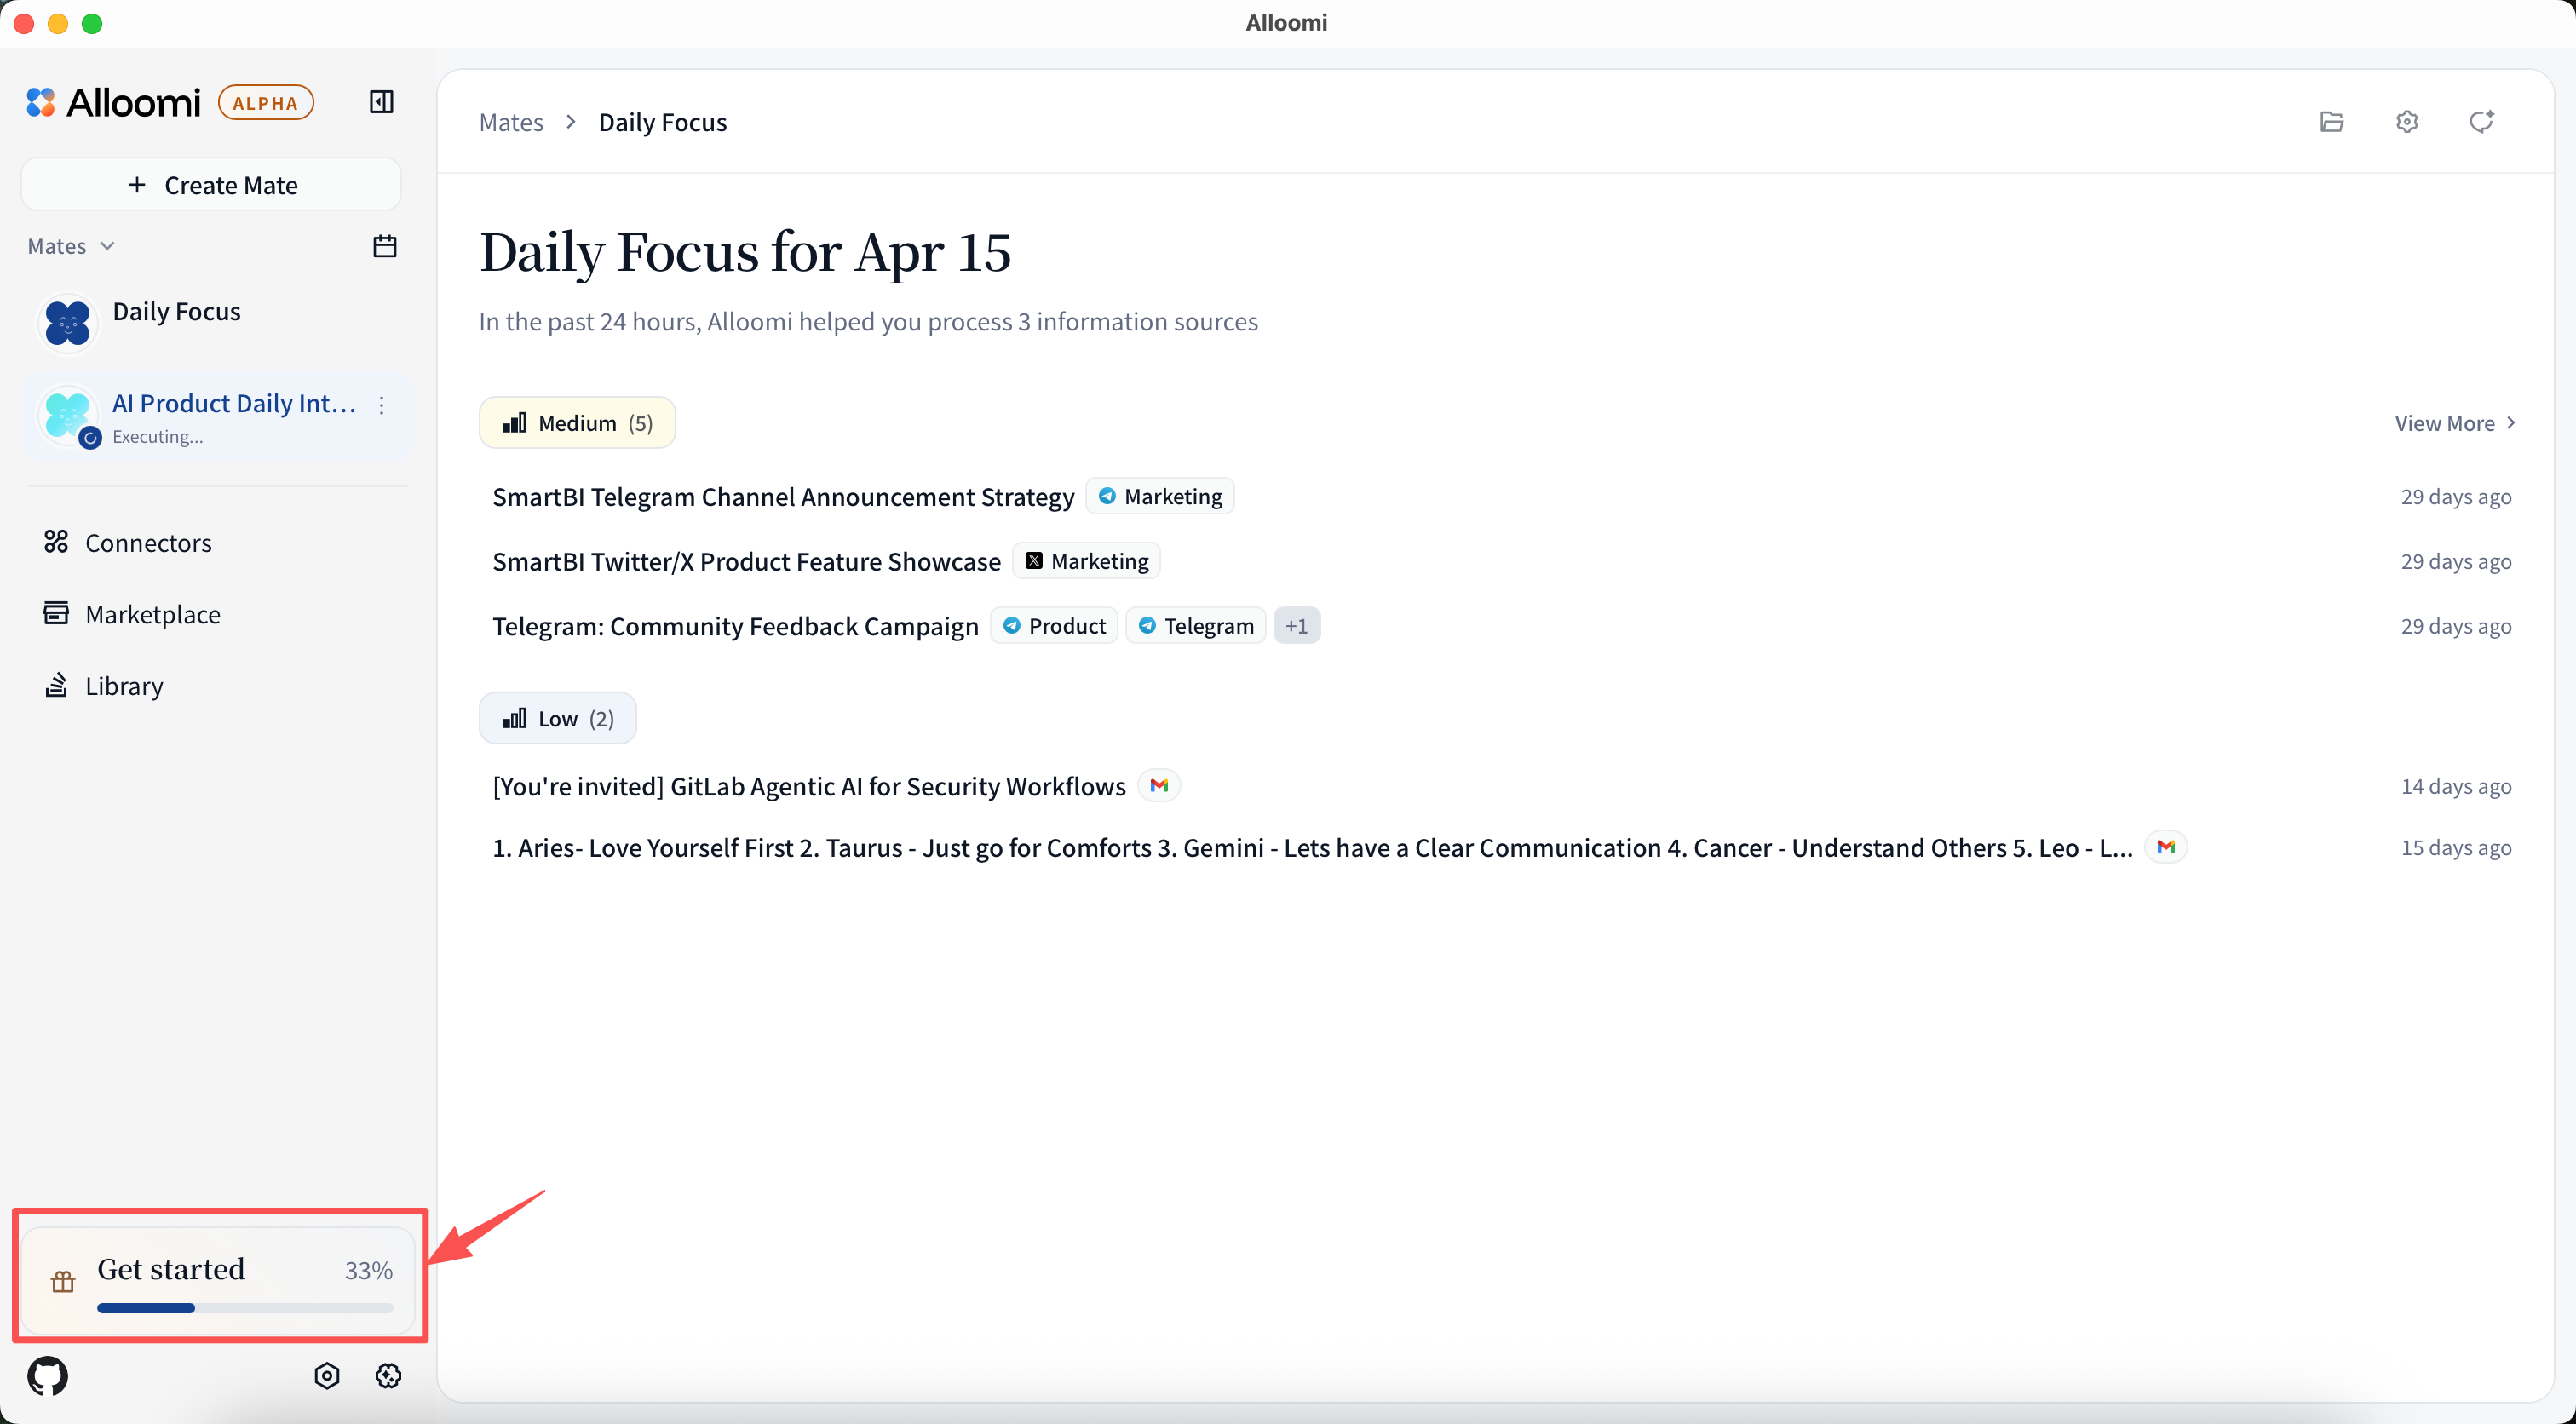
You’ll know it’s working when you see your first Event appear.
System Requirements
| OS | Minimum Version | Processor | RAM | Disk Space |
|---|---|---|---|---|
| macOS | macOS 12 (Monterey) or later | Apple Silicon (M1/M2/M3/M4) or Intel | 4 GB | 500 MB |
| Windows | Windows 10 (64-bit) or later | x86_64 / AMD64 | 4 GB | 500 MB |
| Linux | Ubuntu 20.04 / Debian 11 or later, or equivalent | x86_64 or ARM64 | 4 GB | 500 MB |
Network: Internet connection required for sync and messaging features.
Linux only: GTK and libnotify libraries are required (usually pre-installed on desktop Ubuntu/Debian systems).
Download
Visit https://alloomi.ai to download, or use the direct links below:
macOS
| Option | Notes |
|---|---|
| Download .dmg installer (Apple Silicon) | Recommended for M1/M2/M3/M4 Macs — double-click to install |
| Download .dmg installer (Intel) | For Intel Macs |
| Homebrew | For developers — see command below |
# Install via Homebrew
brew tap melandlabs/alloomi https://github.com/melandlabs/release
brew install --cask alloomi
Linux (Ubuntu/Debian)
| Option | Notes |
|---|---|
| Download .deb package (x86_64) | For x86_64 / AMD64 systems |
| Download .deb package (ARM64) | For ARM64 systems (e.g., Raspberry Pi, ARM servers) |
sudo dpkg -i Alloomi_0.5.0_linux_amd64.deb
sudo apt-get install -f

# Fix resource path (required for v0.5.0 and earlier)
sudo ln -sf /usr/lib/Alloomi/_up_ /usr/bin/_up_

# Start the application
alloomi
Note: The symlink above is needed because of a known packaging issue where the binary looks for resources in
/usr/bin/_up_instead of/usr/lib/Alloomi/_up_. This will be fixed in a future release.
Windows
| Option | Notes |
|---|---|
| Download .exe installer | Recommended — run the installer to set up Alloomi |
| Winget | Coming Soon |
Windows SmartScreen: If Windows shows a warning when running the installer, click “More info” then “Run anyway”. This is normal — Alloomi is open-source and the code is publicly verifiable. You only need to do this once per machine.
“Unable to Find Entry Point” / GetSystemTimePreciseAsFileTime error: If you see an error about
GetSystemTimePreciseAsFileTimenot being found inkernel32.dll, your Windows version is too old. Alloomi requires Windows 10 (build 1607 or later) or Windows 11. Windows XP, Vista, 7, and 8/8.1 are not supported. To check your version, pressWin + R, typewinver, and press Enter — or go to Settings > System > About.
Permissions
When you first launch Alloomi, the system will ask for a few permissions. Each one has a specific purpose — and you can decline any of them. Alloomi will continue to work; you’ll just lose the feature that requires that permission.
macOS
| Permission | What it lets Alloomi do | Can I decline? |
|---|---|---|
| Full Disk Access | Read your iMessage history from the local database so Alloomi can surface important conversations in your Event feed | Yes — iMessage sync will be skipped |
| Automation | Send iMessages on your behalf when you ask Alloomi to reply or notify someone | Yes — you’ll receive drafts instead of automatic sends |
| Notifications | Push alerts when important events are detected (urgent emails, mentions, deadlines) | Yes — check the app manually instead |
How to grant or revoke:
- Open System Settings → Privacy & Security
- Find the permission category (e.g., Full Disk Access, Automation, Notifications)
- Toggle Alloomi on or off
You can revisit these settings at any time.
Windows
| Permission | What it lets Alloomi do | Can I decline? |
|---|---|---|
| Notifications | Push alerts when important events are detected (urgent emails, mentions, deadlines) | Yes — check the app manually instead |
Windows SmartScreen may also show a one-time warning when running the installer. Click “More info” then “Run anyway” — this is normal for open-source software. You only need to do this once per machine.
Linux
No special permissions are required on Linux. Alloomi uses the standard desktop notification system (libnotify) to send alerts if you have granted notification permissions to other apps, Alloomi will automatically use them too.
Sign Up or Sign In
Open Alloomi and create an account with your email. No credit card required. Your data stays local-first.
Sign In

- Email & Password — Enter your credentials and click Sign In
- Forgot password? — Click the link below the form to receive a password reset email
- Sign in with Google — Use your Google account to sign in quickly
- Sign in with GitHub — Use your GitHub account to sign in quickly
Create Account

- Email & Password — Fill in your email, set a password, and confirm it to create your account
- Continue with Google — Sign up quickly using your Google account
- Continue with GitHub — Sign up quickly using your GitHub account
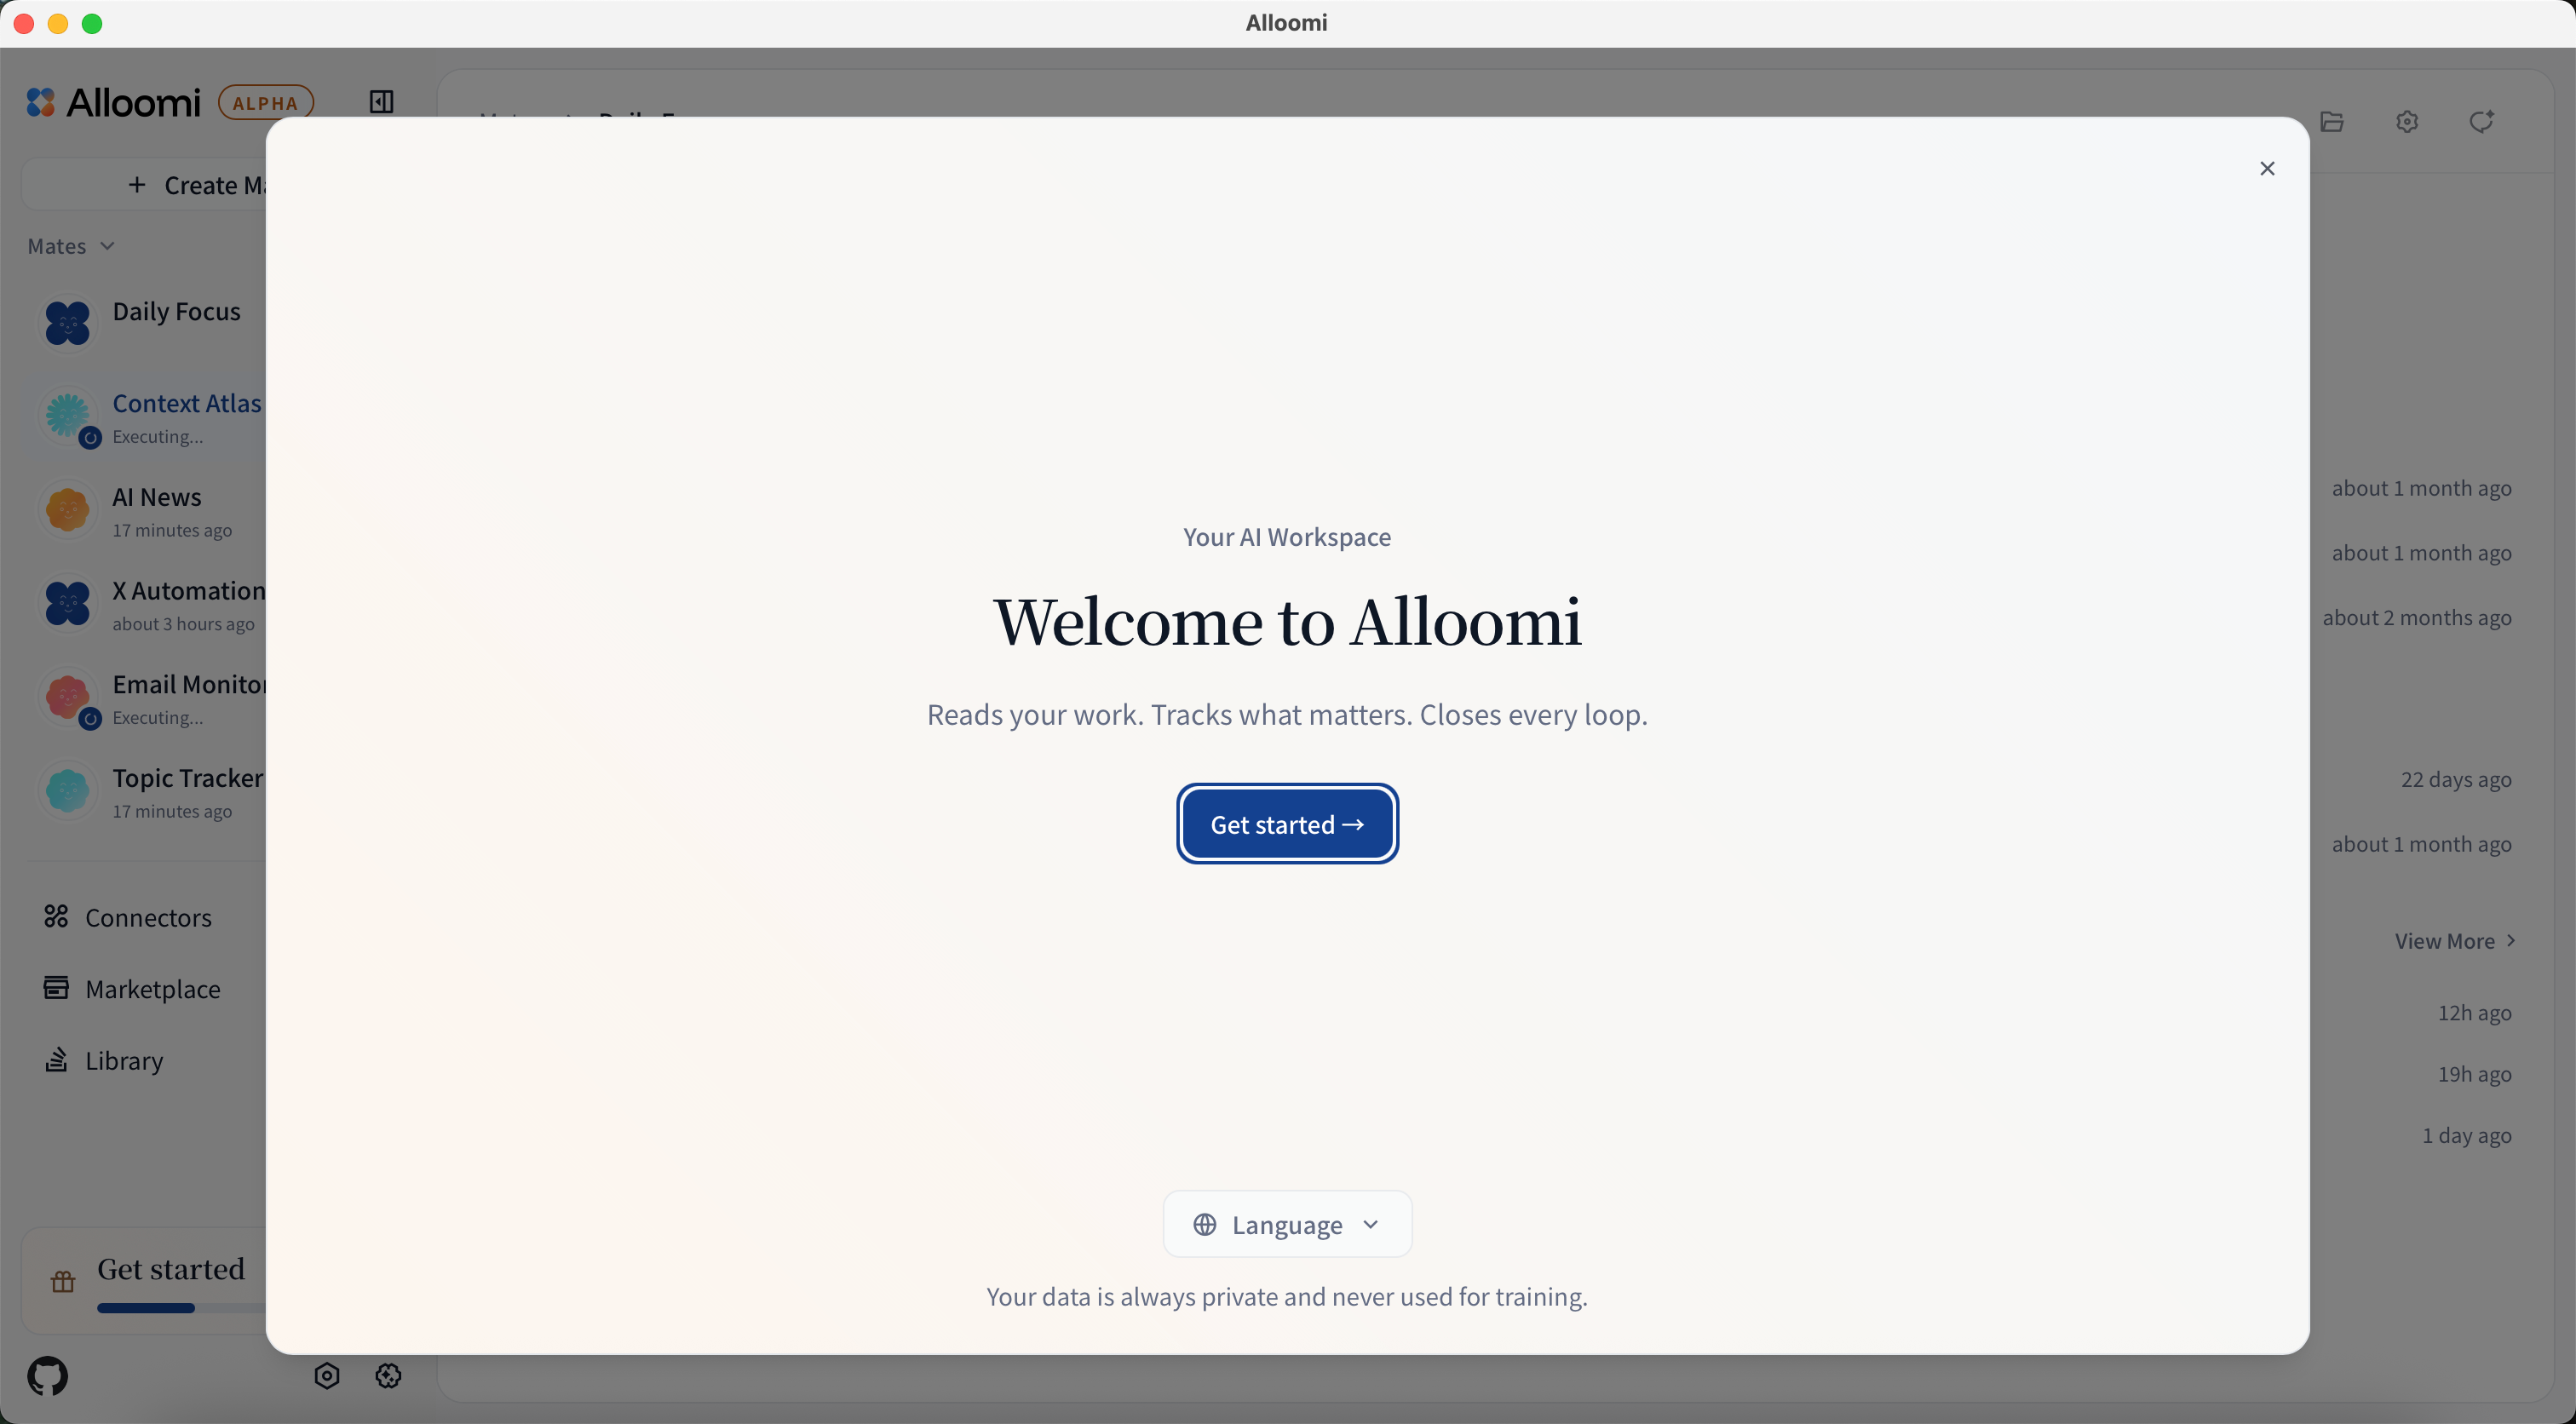
Onboarding
After signing up, Alloomi walks you through a few quick setup steps — about 3 minutes total:
Step 1 · Tell Alloomi who you are
Select your role (engineer, product, sales…) and what you focus on day-to-day.
Why this matters: Alloomi adjusts its filtering priorities based on your role — an engineer and a sales manager will see different insights ranked differently.

Step 2 · Recruit your first AI Mate
Based on your role, Alloomi pre-selects 3 AI Mates to get you started — you can adjust the selection freely.
Each AI Mate is a specialized agent designed for a specific workflow: product digest, email monitoring, sales automation, GitHub standups, and more.
You can always add more Mates later or create your own.

Step 3 · Done!
You can reopen the onboarding guide anytime from the button in the top-right corner.
What to do next
Here’s how to go from set up to seeing real value with your AI Mates:
Day 1 — Explore your AI Mates
- Wait for the first index to complete (~5 minutes)
- Open your Mate list and review what each pre-selected Mate is set to do
- Click into one Mate and check the Events it’s already pulling in
- Add a new Mate from the marketplace — pick one that matches a workflow you do manually today
Days 2–3 — Customize and observe
- Adjust a Mate’s instructions to fit your specific needs
- Set a schedule — some Mates work best on a daily or weekly cadence
- Connect a source (Slack, Telegram, or email) and watch your Mate react to real data
Days 4–7 — Expand and collaborate
- Recruit more Mates to cover additional workflows
- Set up the first automated action — draft a message, schedule a reminder, or trigger a notification